DIY Distressed Denim Wifey Jacket

Most of you who are reading this already know that I'm getting married this Summer. What you may not have known up until this point, however, is that I have developed this strange condition over the past 12 months as a fiancée where I now somehow need everything that was ever created with the words "Wifey", "Engaged", "Fiancée", and "Mrs" on them. It's odd, really.
I've become so obsessed with these sentimental designs to celebrate this exciting milestone in my life, that one night around 2am, I was trapped hundreds of pages below reality in the endless pit of wedding blogs online. I stumbled upon this insanely gorgeous $800 denim jacket. It appeared to be a typical distressed denim jacket; maybe something you would find in the vintage section of Levi's. The only difference (the $750 difference, to be exact) was that it had the words "Wifey" ironed on the back of the jacket with varsity letters, with a few jewel clusters scattered around.
For about half of a second, the craziest thought popped into my head about buying it, and I whispered "yeah, that sounds reasonable". You guys. It was 2am, I was sitting in our living room in absolute pitch-black darkness with only the light of my phone illuminating my face and the dark circles under my eyes. If Sam had woken up in that moment and walked downstairs to see this creepy scene, the entire wedding might've been off. There was nothing "reasonable" about the situation.
The thing about "Bride Brain" that you have to understand is that at this point in the wedding planning process we have been so conditioned to see these crazy numbers on invoices and quotes that many of us have become unfazed. I don't have a crazy budget and we are not having a lavish, 200+ people wedding, but I'd say that even some of the prices I've paid throughout this process seem a bit ridiculous in reality.
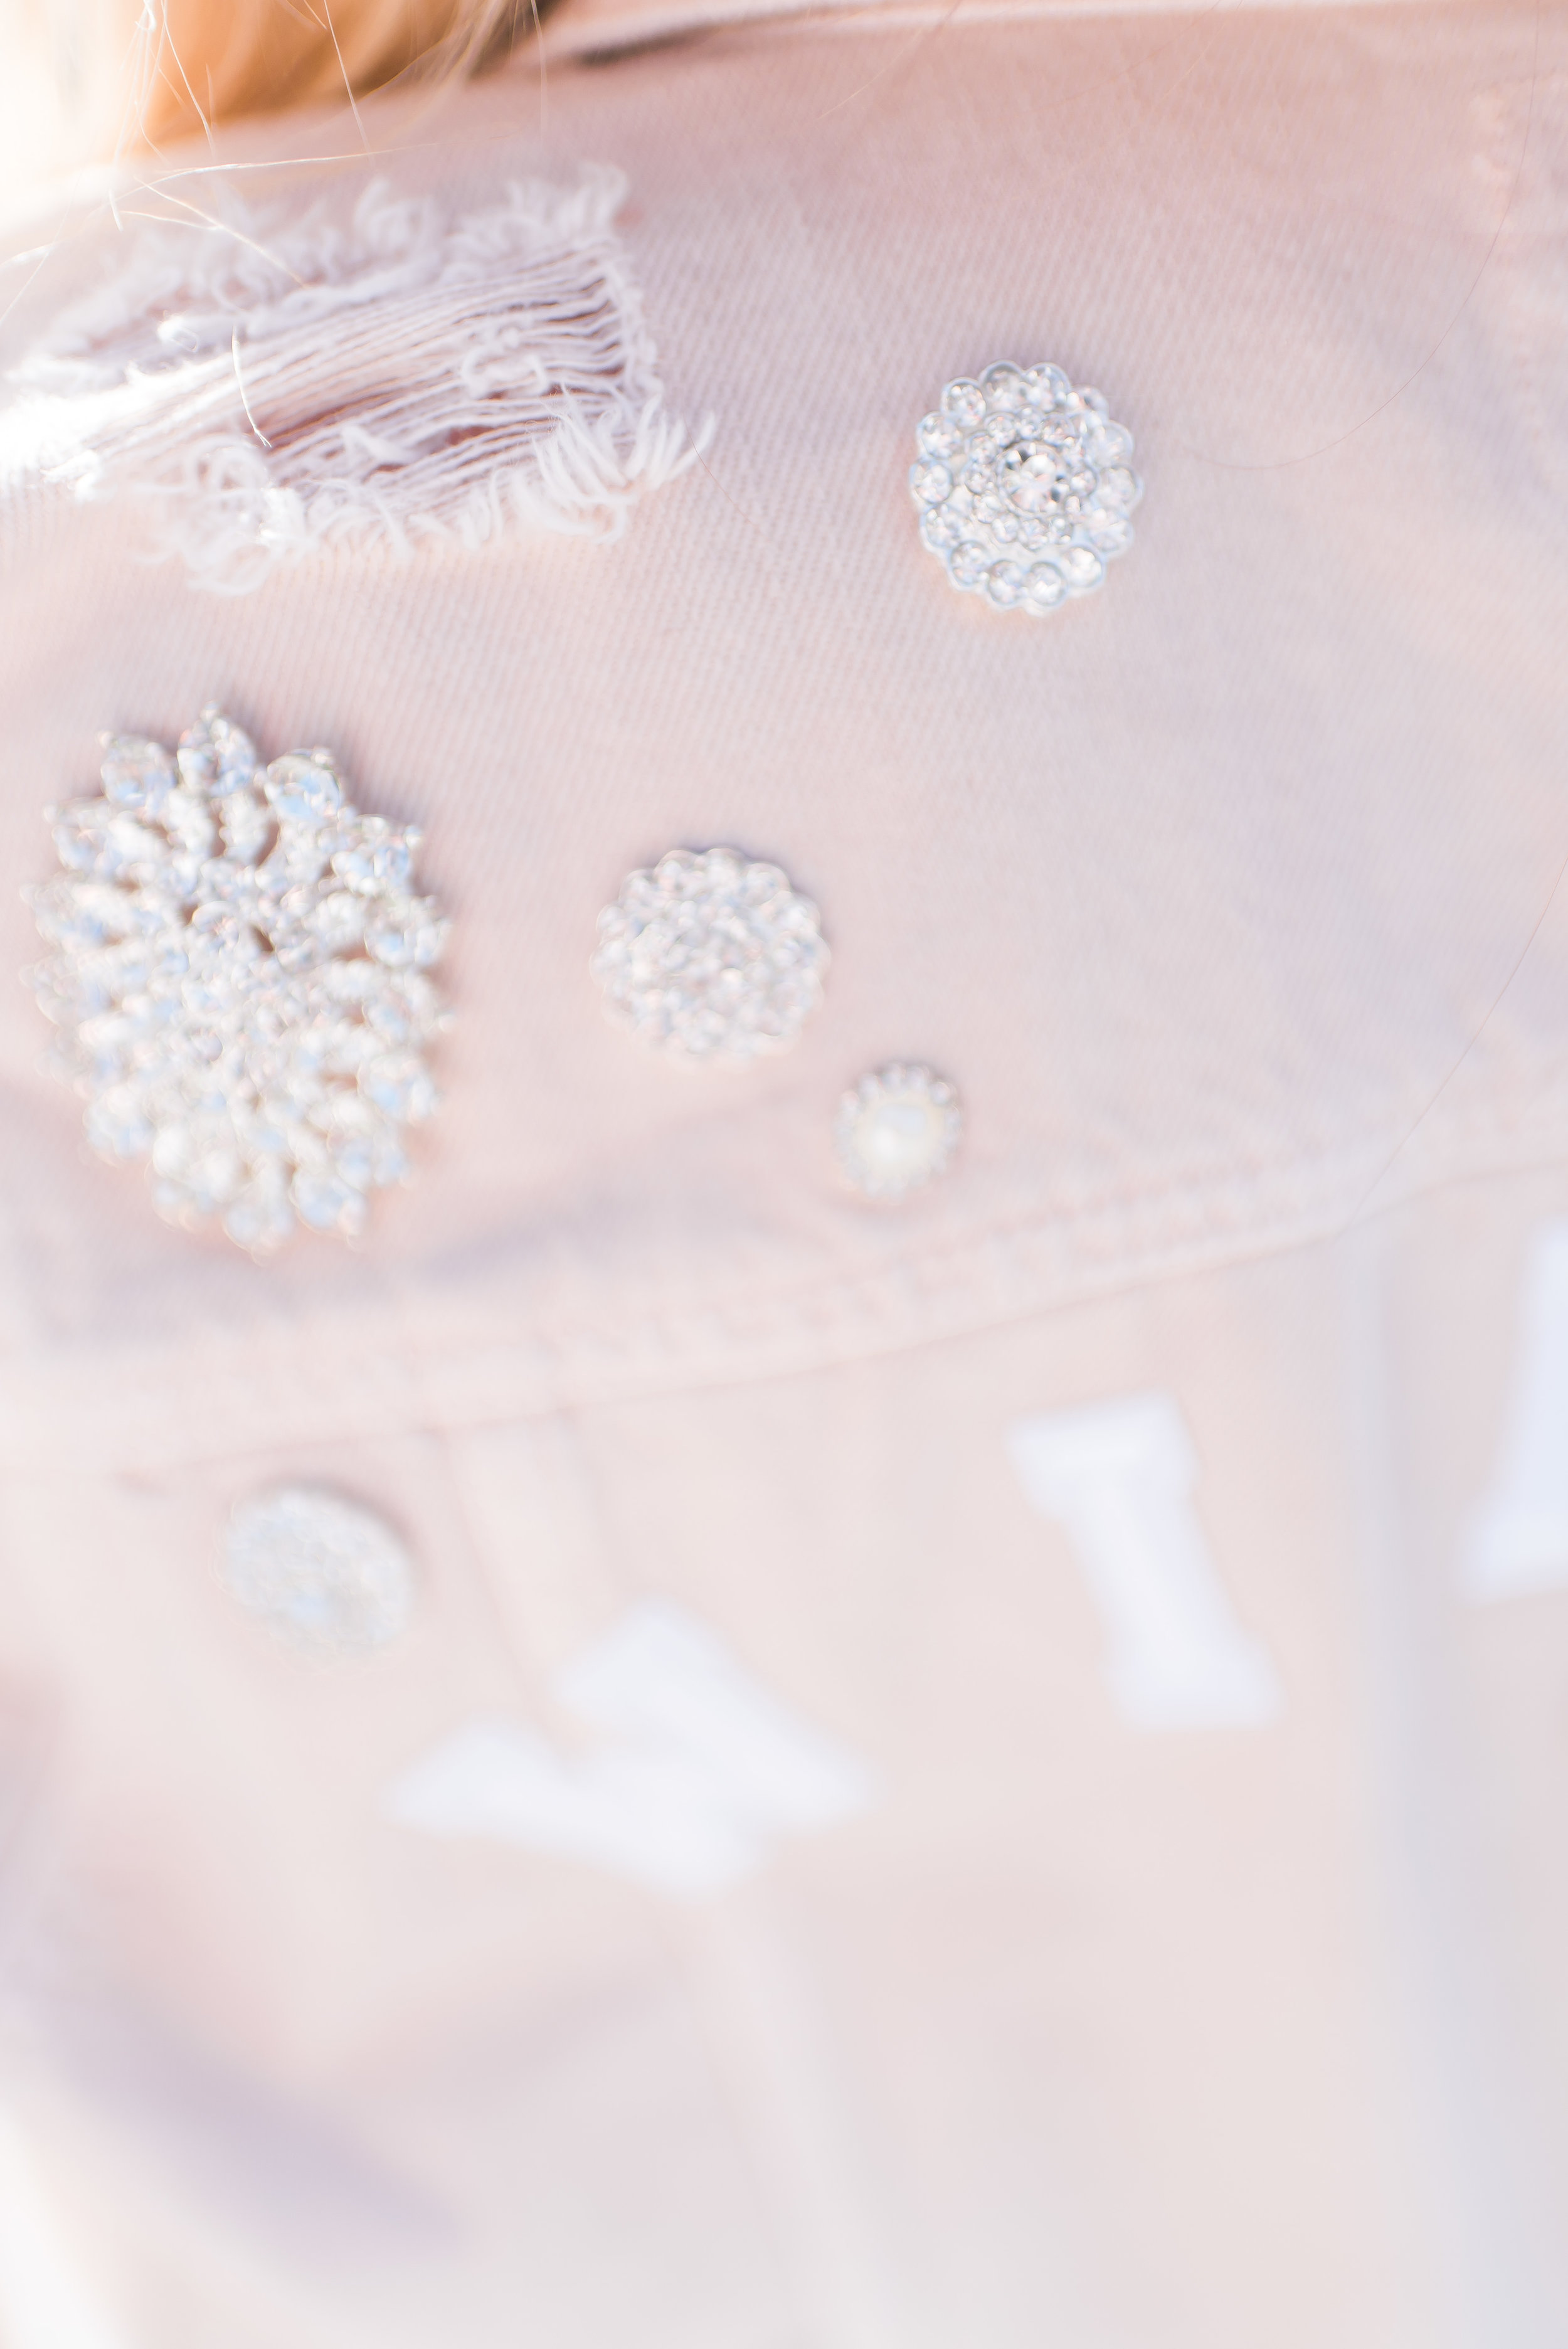
Thankfully, I snapped out of the fantasy of me wearing an $800 denim jacket on our wedding day/honeymoon fairly quickly and started thinking about how I could make the same design myself (for much, much less). I found a gorgeous blush pink denim jacket online for less than $20, almost identical jewel clusters, and iron-on varsity letters for less than $2/piece on Etsy. All in all, making this jacket myself would cost a total of $45 (so, $755 less than the original design). I was so excited about my creative project that I talked Sam's ear off about it every day until I got my supplies in the mail. I think he was just as relieved as I was when they showed up on our doorstep.
The weekend before we were headed to NYC for a shoot trip, I spent the afternoon making my jacket look and feel exactly like the one that I had originally fallen in love with (except mine was pink, which is obviously better). I wore it during the majority of our time in New York and beamed ear to ear every time an innocent bystander asked me about it.
If you are newly engaged, married, or just want to be bedazzled AF, this project is for you. You have the ability to get as creative as you want with this DIY tutorial; the possibilities are literally endless. Have fun with it and create a one-of-a-kind piece that you're excited to wear (without breaking the bank)!
DIY Distressed DENIM WIFEY JACKET
Materials:
- Distressed Denim Jacket
- Iron-on Varsity Letters
- Flat-back Embellished Jewels/Clusters
- Iron
- Hot Glue Gun, Hot Glue Sticks
- Clean sheet or cotton fabric
Directions:
- Start by mapping out where you want each letter and embellishment to go. Play around with different designs and layouts until you're ready to commit to the letter placement. Measure the distance between the iron-on letters to ensure that the placement is centered and even.
- Once ready, place a pressing cloth (such as a clean sheet or cotton fabric) over top of the iron-on letter. Press the iron down for 20 seconds.
- Repeat step 2 with each iron-on letter in the design.
- Increase iron temperature to 375 degrees. Turn the garment inside-out, place a pressing cloth (such as a clean sheet or cotton fabric) over top of the iron-on letter, and press for 15 more seconds.
- Repeat step 4 with each iron-on letter in the design.
- Once letter placement is complete and secure, turn the garment back around once again. Map out where you want each embellishment to go.
- Using the hot glue gun, place a small dot of hot glue on the underside of the embellishment. Press into garment to secure; apply pressure for 15 seconds until cool.
- Repeat step 7 with each embellishment in the design until complete. Enjoy!


Shop this post:

Have you created a DIY design before? Comment on the last photo on my Instagram feed and tell me or tag me in your favorite fashion DIY project!
Want some inbox love? Get the special treatment: exclusive content, sales I'm loving, new blog posts, social media, & more. Join our email list now!
xo Anna Elizabeth